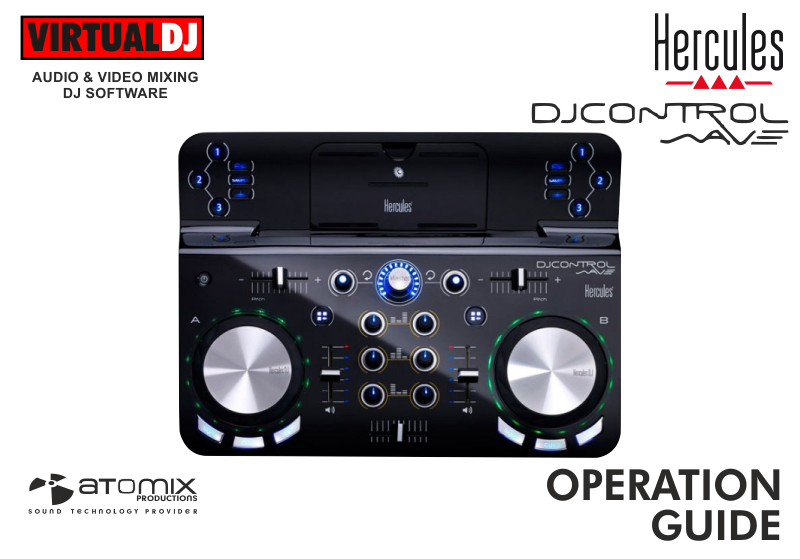
HERCULES DJCONTROL WAVE
Installation
Drivers & Firmware
(Windows & Mac)
Download the drivers of the unit from Hercules Support Center and follow the provided instructions in order both drivers and firmware to be updated to the latest version.
http://support.hercules.com/product/djcontrolwave
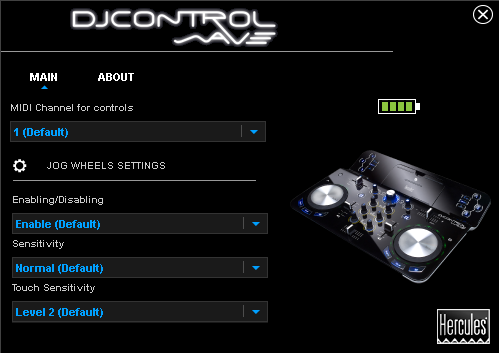
If the drivers are properly installed the Hercules Control panel will be available at the system tray.
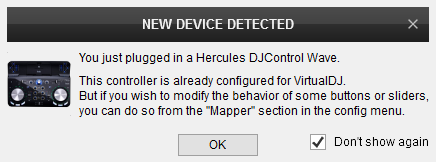
VirtualDJ 8 Setup
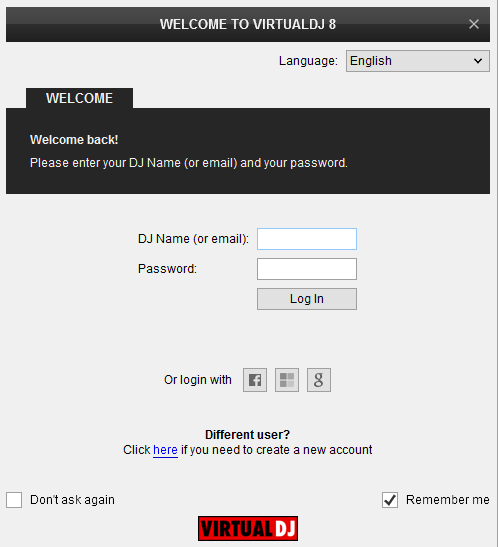
Once VirtualDJ 8 is launched, a Login Window will appear. Login with your virtualdj.com account.
A Pro Infinity, a Pro Subscription or a PLUS License is required to use the Hercules DJ Control Wave. Without any of the above Licenses, the controller will operate for 10 minutes each time you restart VirtualDJ.
http://www.virtualdj.com/buy/index.html
The unit is now ready to operate.
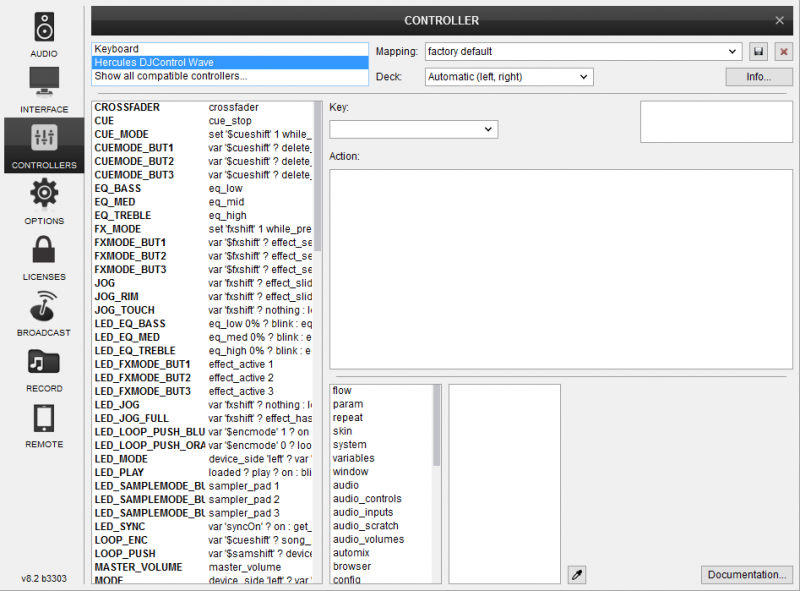
MIDI Operation.
Find more details at
http://www.virtualdj.com/wiki/VDJ8script.html
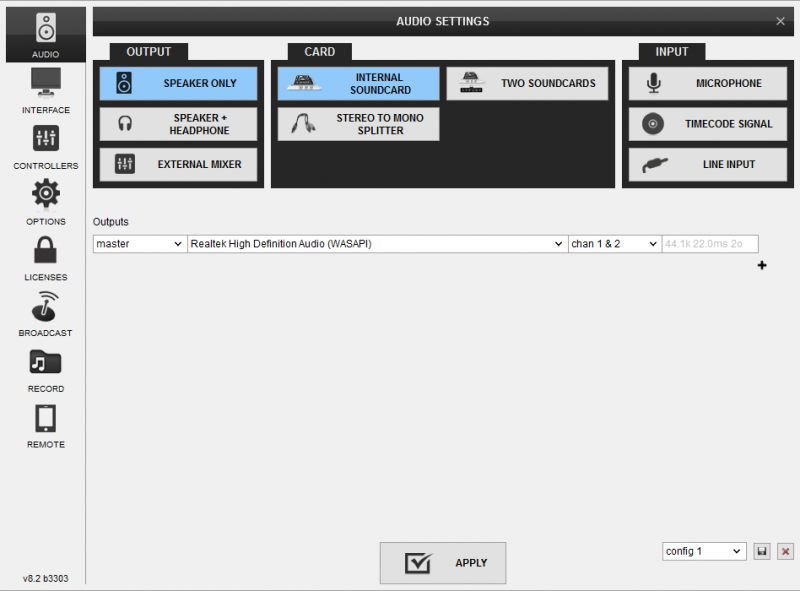
AUDIO Setup
By default, VirtualDJ will auto assign the default sound card of your computer to the Master Output.
Depending on the sound card you need to use, manually create the necessary Master and Headphones audio configuration. See more in Audio Setup of VirtualDJ Manual
For further software settings please refer to the User Guide of VirtualDJ 8.
http://www.virtualdj.com/manuals/virtualdj8/index.html
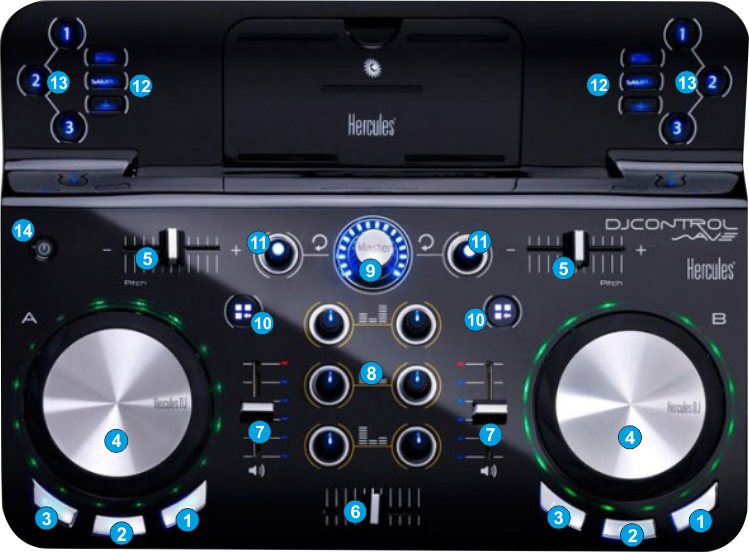
Basic Controls

- PLAY/PAUSE. Use this button to play/pause the loaded track on each deck.
- CUE. When a Deck is paused, you can set a temporary Cue Point by moving the Platter to place the Audio Pointer at the desired location and then pressing the Cue Button. The Cue point can be stored using one of the 3 Top buttons (13).See HotCues
During playback, you can press the Cue Button to return the track to this Cue Point. (If you did not set a Cue Point, then it will return to the beginning of the track.).
If the Deck is paused, you can press and hold the Cue Button to play the track from the Temporary Cue Point. Releasing the Cue Button will return the track to the temporary Cue Point and pause it. To continue playback without returning to the Temporary Cue Point, press and hold the Cue Button, then press and hold the Play Button, and then release both buttons. - SYNC. Press this button to automatically match the tempo of the track with the opposite deck.
- JOGWHEEL. Touch sensitive platter for scratching or bending depending on the Vinyl mode (button available in the VirtualDJ GUI). In Vinyl mode bending can be performed using the outer side of the platter.
The platter also offers Loop and Effect Parameters control. See Effects and Loops. - PITCH. Adjust the track's playback tempo.
- CROSSFADER. Blends audio and video between the left and right decks.
- VOLUME. Adjust the Volume of left/right decks.
- EQ. Adjust the Low (Bass), Mid (Middle) and High (Treble) frequencies for each deck.
- MASTER VOLUME. Adjust the level of the Master Output.
- PARAMETER MODE. Use these buttons to set the Parameter Encoders (11) to Loop, Browser or Mixer mode.
Advanced Controls
HotCues
Press the
Each one of the 3 buttons (13) assigns a Hot Cue Point or jumps to that Hot Cue Point.
When a Hot Cue Button is unlit, you can assign a Hot Cue Point by pressing it at the desired point in your track.
Hold the CUES mode button (12) down and then press a button to delete its assigned Hot Cue Point.
Hold the CUES mode button (12) down and then use the Parameter Encoders (11) to navigate through the track (fast seek)
Sampler
Press the SAMPLE mode button (12) to set the top 3 numbered buttons (13) in Sampler mode (selection per side/deck).
Each one of the 3 buttons (13) triggers a sample from the selected Sampler Bank of VirtualDJ.
If a bank has less than 4 samples, both sides of the unit will control the same samples. If a bank has more than 3 samples, the left side of the unit will control samples 1 to 3 and the right side samples 4 to 6.
Hold the SAMPLE mode button down and then …
- Press a button to stop the playing sample (useful if the Unmute or Stutter trigger mode is selected)
- Use the left Parameter Encoder (11) to select and load a different Sampler bank.
- Use the right Parameter Encoder (11) to adjust the Master Volume of the Sampler.
Effects
Press the FX mode button (12) to set the top 3 numbered buttons (13) in Effects mode (selection per side/deck).
Each one of the 3 buttons triggers the selected effect of Slot 1 to 3. The selected effects from all 3 slots can be triggered at the same time (chain effect).
Hold the FX mode button down and then …
- Press any of the 3 buttons (13) to select the next effect for the relative Effect slot.
- Use the Jogwheel (4) to adjust the 1st Parameter of all 3 Effects slots simultaneously
- Use the Parameter Encoder (11) to adjust the High-Low Pass Filter of the deck and push the same Encoder to reset the Filter to its zero value (turn off).
Loops
When both PARAMETER MODE buttons (10) are unlit, use the Parameter Encoders (11) to select the size of the Loop in beats for the left and right decks. Push the same Encoder to trigger the loop.
While a loop is enabled, use the Jogwheel (4) to move/shift the Loop forward or backwards through the track. The Jog Illumination will indicate the Loop progress bar. The Jogwheel will return to the Scratch/Bend status automatically when the loop is turned off.
Browser
Press the left PARAMETER MODE button (10) to set the Parameter Encoders (11) to Browser mode. The Led of the left button will be turned on as an indication.
While in Browser mode…
- Use the left Parameter Encoder (11) to scroll through folders.
- Use the right Parameter Encoder (11) to scroll through tracks.
- Push the Parameter Encoders to load the selected track to left or right deck. Hold down the Parameter Encoders for more than 1 sec to unload the same deck.
Mixer
Press the right PARAMETER MODE button (10) to set the Parameter Encoders (11) to Mixer mode. The Led of the right button will be turned on as an indication.
While in Mixer mode…
- Use the Parameter Encoders (11) to adjust the Gain of the left and right decks.
- Push the Parameter Encoders (11) to send the left or/and right deck to the Prelisten Output Channel (Headphones is required to be defined in Audio Setup)
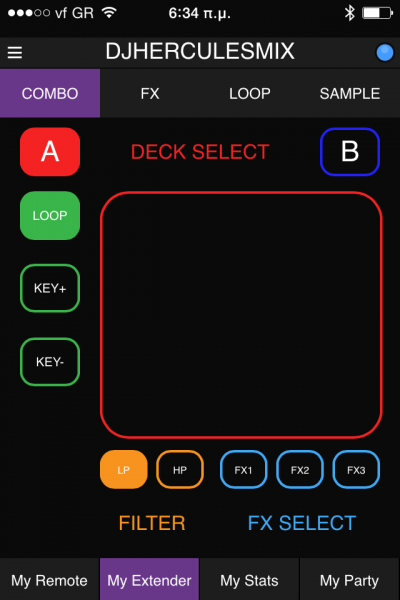
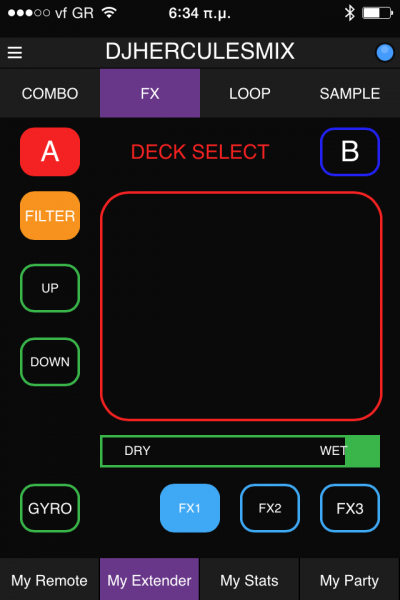
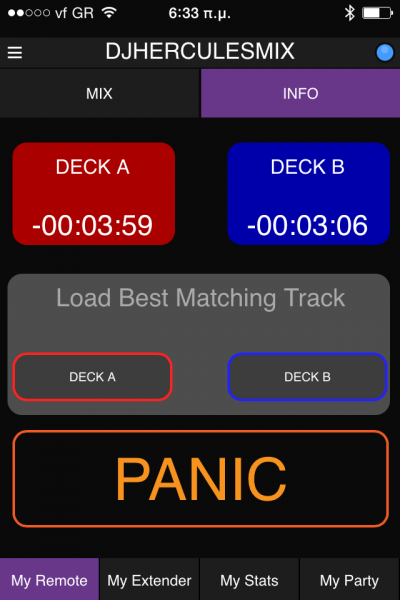
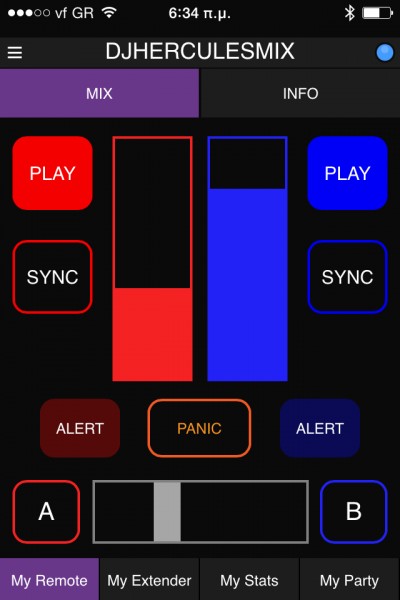
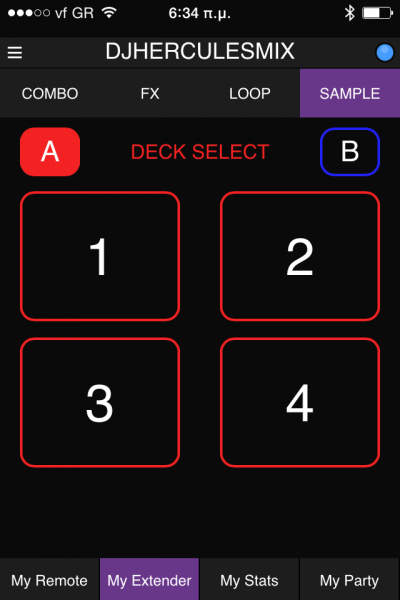
Remote Control
The Control Wave offers the ability of Bluetooth connection with your Remote device (such as iPhone, iPad, iPod touch and Android tablets). When the unit is paired with your Remote device via Bluetooth, VirtualDJ can be controlled with both the Hercules control Wave unit and the remote device using the provided DJUCED Master Application.
See further details at http://www.djuced.com/content/djuced%E2%84%A2-master and http://www.djuced.com/content/djuced%E2%84%A2-master for supported Remote devices
- Install the DJUCED MASTER Application to your remote device.
- Enable Bluetooth in your remote device and launch the Application. Once the pairing is done, the name of the unit will be visible at the top of the remote application interface.
- Start VirtualDJ 8
The application is currently offering all the basic mixing features